Showing posts with label March Kits. Show all posts

Saturday, March 26, 2011

A few super quick, super simple layouts

The downside of running the store is that I really don't have as much time to scrapbook as I used to. Ironic, no?
So the other night, I grabbed both March kits and just a few of my favorite tools (whatever I could cram in the pizza box) to bring home with me.
As a result, the few layouts I completed are pretty "clean" compared to what I usually do. I had planned to add a few things after I brought them back into the store, but the more I looked at them, the more I liked them just as they were.
Here's Paul helping out at the store. I kind of have to take advantage of the fact that he likes working now. That may not be the case in a few years ;)
And our cat. Or I should probably say, my husband's cat. She doesn't want anything to do with me unless it's the middle of the night, or she's hungry. And I'm convinced she's trying to kill me. But that's another story for another day.
Hope you all are having a wonderful weekend :)

Saturday, March 5, 2011

March News and a Mini Album Class

Hello everyone! Here we are ... March 5th (my oldest son's birthday today) and no March kit in sight. It's looking like I will have it ready to release later on in the month. But definately worth the wait :)
Until then, there are still a few February kits available and lots of inspiration in the Gallery.
As far as new CHA product, I am expecting oodles of items to arrive late next week. Just in time for March Break. Stay tuned for a March Break Sale :)
Also planned for March Break is the Toilet Paper Mini Album class for kids (aged 9 and up). The kids classes have been very popular in the past, so book your spot now by e-mailing upthestreet@isp.ca. Visit the website for more details.
Oh ... and just a quick "hello" to all the ladies who attended the Friday night crop last night :)

Friday, June 18, 2010

A DIY from Jeremy Kroes

I'm the first to admit that I don't follow fashion. I stock up on a fresh supply of plain white tee's from Eddie Bauer in the spring and call it good.
But I love seeing someone translate gorgeous fashion and fashion photography into artwork or, in this case, scrapbook art.
Jeremy Kroes took time away from his trip preparations (he is on his way to India for a month!) to share this DIY with us ...
Hi friends! I am back again with the March kit and a little inside look at my process from inspiration to the completion of a layout. I get inspiration for my scrap pages from just about anywhere. In fact, I am often asked where I find inspiration, and I always answer "Where don't I find inspiration?" ;)Recently I was looking through the new, F&W 2010 lookbook for one of my favourite (Canadian!!) designers - Ashley Rowe. I was so amazed by her new collection and I just know you will be too. Take a look at some of her designs:
I spent so long looking at these designs. Her design aesthetic is so similar to mine and even after getting off the site my mind was still buzzing about the designs. Finally I decided I had to recreate the look. I am going to share how I did it with you so you can too!Supplies: Cardstock (any colour) acrylic paint (any color) newspaper (this is a messy technique) paint brushes & water.I started by laying out my newspaper and setting up a make-shift easel made out of cans to stand up my cardstock.
If you look at Ashley's designs, the black splatters have drip marks from applying the paint while the garment is hanging vertically. I wanted to achieve this same look by standing up my cardstock. Now for the fun (and easy) part. You want to choose your cardstock and paint colours. I went with the a simple black and white because I loved the visual contrast it gave - but you can choose any colour combination you want.Stand your cardstock up against your easel (or cans in my case) and then 'fling' your paint at your cardstock. It is literally as simple as that. You can fling as much or as little as you want. Just go crazy and don't think too much about it. If you've never flung paint before, or haven't since elementary school, you'll quickly find out it is very therapeutic. Make sure you have a few sheets of cardstock so you can try a few different times and see what you like best.
In order to get a good splatter you can do one of two things. Acrylic paint on its own, unless it is a very thin consistency (some brands are) will not splatter very easily.You can go out and buy a stringing medium to add to mix with your paint which will help the paint to string out when you throw it at your cardstock and produce a similar effect that Ashley achieves on her garments. This is the technique I used. I used clear tar gel by Golden with this paint in ivory black. Or you can just water down your paint with water until you reach a good consistency to throw at your cardstock. With this, I would suggest adding a bit of water, trying to 'fling' your paint at your cardstock, and adjusting by adding more water or paint. I also tried this technique without the can easel and it worked just as well.
So after coming up with a few designs on my cardstock I brought out my leftovers from the March Kit to finish up the layout and here is the finished product:
Since the background is so busy I wanted to keep the rest of the page pretty minimal. I used a sticker from Studio Calico, some FabRips behind the cassette overlay, some blue scrap from the Cosmo Cricket elements page and some of my own chipboard letters. Super easy and I'm very happy with the way it came out.Please go and try this technique and if you do link me up here in the comments. I would love to see what you all come up with. And like I said, just let yourself go and experiment with this technique and I guarantee you'll be surprised with a) how easy it is and b) the things you come up with.
How much fun is that? I just want to go play. Think how much fun your kids would have with something like this ... lay paper out on the lawn and let them have at it.
Thank you so much Jeremy :) You never fail to bring it. Have a wonderful trip. I can't wait to hear about your adventures.
Be sure to follow Jeremy's blog for updates on his trip.

Sunday, June 6, 2010

Going back to March with Jeremy Kroes

Happy Weekend all!
I've been playing all day with the new June kit and have lots to share, but first, I want to go back to the March kit. I happened across the blog of Jeremy Kroes about a year ago and am always interested to see what he's been creating or what he's finding inspiring at the moment. I love that he looks at supplies with such a fresh eye and gives them a whole new flavour.
I asked if he would work with the March Every Which Way kit and was thrilled when he agreed. I had a feeling that he would dive right into the Studio Calico product ... and I wasn't wrong ;)
I always have such a difficult time doing a layout without any photos.
I love how Jeremy lined the envelope from the Are We There Yet? add-on with the Studio Calico paper for a custom look.
Clothing tags are always so bright and colourful with such interesting graphics. This is a wonderful idea to take advantage of all those bits that would otherwise end up in the garbage, while at the same time documenting your fashion choices at the moment.
I'm also not surprised that Jeremy used the brown packaging from the kit. Fun spritzing, messy machine stitching and a wonderful little poloroid photo ... be still my heart :)
Come on! Why didn't I think of this? A beautiful little grouping of vintage buttons.
But this ... this card ... this card right here is such a gem. I love it so much.
And the perfect little inside :)
Thank you so much Jeremy! You have far surpassed my expectations and given me some wonderful inspiration. I need to dig out my scraps from the kit to duplicate those cards.
They. Are. Perfection.
Jump over to the store to purchase one of the March Every Which Way kits!

Thursday, April 29, 2010

A few more ...

... pages from Lisa Wilkinson.
I love all of the hand stitching on this one ...
And this one really pulls all of the colours in the kit together by using strips of different patterned papers.
Lisa misted circles on her background with a stencil and also "hit" the venise butterfly with the Sea Monkey Shimmerz Vibez. Great effect.
A sweet little grouping in the top corner ...
All of the items Lisa used on her layouts are from the March Main Kit (Every Which Way). There are still some available and are 30% off until Saturday.

Tuesday, April 20, 2010

You Ride

I sent my new friend, Lisa Wilkinson, one of the March kits to play with and I'm so glad I did :) She sent me this adorable layout today and it has me itching to pull out what's left of my March kit again. I just love the soft yellow and turquoise together.
All torn and distressed with lots of little bits. Lisa is definately a girl after my heart. You can click on the images to see all of the wonderful details.
Beautiful silver chenile fabric peeking out ...
And what an adorable little face! I miss this stage so much. You know ... the stage when they're still not talking back all of the time?
She even made use of some of the Studio Calico packaging. Waste not, want not!
Thanks Lisa! I'm looking forward to seeing what else you do with this kit :)

Tuesday, March 30, 2010

More Every Which Way & Some April Peeks

The sun is finally shining after a cold, gloomy week and it's supposed to be nice for several days. My kids are home today (the school has no water due to a water line break) so I fully intend to send them outside for the afternoon. The arguing has been unbearable this morning.
On to happier things!
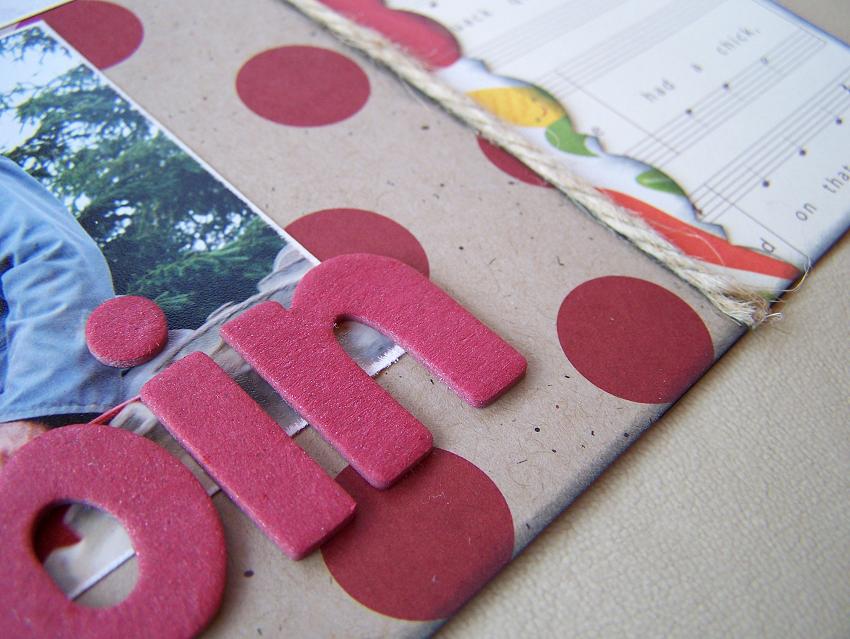
I wanted to share how I package the kits. I wanted them to look like something you would have purchased from a dry goods store a hundred years ago ... hence the brown paper and twine. But why not make use of the packaging? I've used twine on several layouts but I wanted to try playing with the paper bag.
They are a bit flimsy, so this layout is attached to a cardstock base to make it a bit more sturdy. Folded over, stitched and spritzed with Sea Monkey Vibez.
I'm into hand-stitching with floss these days. The Cosmo Cricket chipboard letters are sanded and covered with a layer of Rock Candy Distress Stickles.
Pretty Primas available in the store.
Supplies:
paper bag from kit packaging
ribbon, Prima flower (blue), Prima Pebble, Studio Calico rub-on and paper letters, Cosmo Cricket chipboard letters, Sea Monkey Vibez all from Main kit
Sudio Calico label sticker from the Are We There Yet? add-on
Cosmo Cricket letter stickers from the Pretty Bits add-on
Prima flowers (Scribe Belle Artes & Blush Zazi) from the store
Embroidery floss, thread and Distress Stickles from my stash
I've also been whipping up some layouts with the April kit. This one uses the Salad Bar add-on (see the twine?).
And the Main kit ... Sunday Brunch.
Hope everyone's day is sunny too :)
ETA ... I doubt very much that my paper bags or twine would be considered acid free. They may be. I just don't know. A lot of my projects are for fun and I have no illusions about them becoming family heirlooms. For any layouts I want to stand the test of time, I make sure I use only scrapbooking product produced by a scrapbooking manufacturer.

Sunday, March 21, 2010

More Projects

I've just been puttering around with the March kit this weekend. Trying some new things, scrapping an old photo. Pretty much just playing.
This photo is my brother and I from back in the day. I want to say 1981, but I may be wrong.
Lots of Cosmo Cricket Joyride on this.
The chipboard letters and circles are from the 1st add-on kit.
And a wee yo-yo made from the chenile fabric in the main kit.
For this little card, I used one of the card bases from the 1st add-on. The cream coloured paper is actually from the rub-ons packaging. I cut one of the rub-ons in 3 pieces to get the most out of it. The little frame was cut from one of the Studio Calico stickers in the 1st add-on.
I don't know how many of you follow Kristina Werner's blog, but she always has great tips of new things to try on cards. Recently, she cut a window in the front of her card and stamped a sentiment on vellum, which she then placed in the window.
I decided to just stamp right on the inside of the card using a stamp from the Hero Arts Essential Messages set. I don't heat emboss overly much, so I could have been a lot neater with the embossing powder. Oh well ... next time :)
Another thing I've been wanting to try lately is making a fabric cuff. I love this chenile so much. It's just so fuzzy and nice to touch that I thought it would make a pretty cuff.
Please disregard my dry, white arm and hand. Mama needs some moisturizer and a bit of sun!
Rather than using a button and having to make a button-hole, I used a hook and eye and sewed on one of the gorgeous Prima flowers from the store.

Saturday, March 20, 2010

A Few Cards ...

... to share.
I love how Jennifer used the u-turn symbol as a "u" or in this case, a "you". That Cosmo Cricket paper just begs to be cut up into the little shapes. Jennifer's second card makes use of her embossing machine to add texture to her front. The thin border of patterned paper behind the embossed paper ties into the green doily rub-on.
The adhesive backed Studio Calico rip strip makes quick work of duplicating a pleated ribbon.
My cards aren't as elaborate as Jennifer's.
A strip of patterned paper, a rub-on along the bottom, a thin piece of rip strip between and a chipboard piece are all I added.
And just a quick trim around the edge of the rub-on.
I love the wide trim but it can be overpowering on a small project. I punched old book paper and misted it with Shimmerz.
Sea Monkey on the lower layer, Before Dawn on the middle.